A new condenser leaves the factory with enough refrigerant for the unit, the indoor coil and a short line set, usually 15 feet. Run the lines 50 feet to reach the back of the house and the system starts life undercharged unless someone weighs in the difference. That is the job this guide walks through, and a refrigerant charge calculator does the same arithmetic in three steps: weigh in the line set charge first, then confirm it on a running system with superheat or subcooling. Here is how each step works, in the order you would use it on the job, with full worked examples.
Try it: Refrigerant charge calculator
The three checks, in order
Refrigerant charge is not one number. It is three checks that answer three different questions, and the order matters.
Line set charge. How much refrigerant to add when the installed line set is longer than the length the factory charge covers. This is a weighing job, done before the system runs, and it gets you close.
Superheat. How the charge looks on a running system with a fixed orifice, also called a piston. It compares the suction line temperature with the evaporator saturation temperature.
Subcooling. How the charge looks on a running system with a TXV or electronic expansion valve. It compares the condenser saturation temperature with the liquid line temperature.
Weighing in the line set charge gets you close. It does not replace the final check with superheat or subcooling once the system has run for 10 to 15 minutes. The calculator has all three tools behind one switch, so this guide follows the same order.
Step 1: the line set charge
Only the liquid line matters much here. It is full of dense liquid refrigerant, while the larger suction line carries low pressure vapor that weighs very little per foot. So the adjustment is:
Additional charge = (Total length – Factory-charged length) x Liquid line charge rate
Three numbers go into it. Pick the liquid line size first. The calculator fills in a typical R-410A charge rate for that size, and the rates come from a major manufacturer installation instructions:
| Liquid line size | Charge rate | Per meter |
|---|---|---|
| 1/4 inch | 0.3 oz/ft | about 28 g/m |
| 5/16 inch | 0.4 oz/ft | about 37 g/m |
| 3/8 inch | 0.6 oz/ft | about 56 g/m |
| 1/2 inch | 1.2 oz/ft | about 112 g/m |
Then enter the total line set length, measured as the actual run, not the equivalent length used for pressure drop. Then enter the length the factory charge covers. Most residential split systems say 15 feet on the nameplate or in the installation instructions, but check.
A positive answer is refrigerant to weigh in. A negative answer means the run is shorter than the factory assumed, so the factory charge already over-covers it. If your manual lists a different rate, or you are working with another refrigerant, type the manual number over the suggested one. Other published tables give slightly lower numbers for the same sizes because they assume a different liquid temperature, so the outdoor unit own manual is the number to use.
Worked example: a 50-foot run on 3/8 inch line
A 3-ton R-410A condenser is charged for 15 feet. The installed line set is 50 feet with a 3/8 inch liquid line.
Extra length: 50 – 15 = 35 ft
Charge rate: 0.6 oz/ft
Refrigerant to add: 35 x 0.6 = 21 oz, or 1 lb 5 oz (about 595 g)
Here is the same math for other common lengths on 3/8 inch line:
| Total length | Extra length | Add |
|---|---|---|
| 25 ft | 10 ft | 6 oz |
| 35 ft | 20 ft | 12 oz |
| 50 ft | 35 ft | 1 lb 5 oz |
| 75 ft | 60 ft | 2 lb 4 oz |
| 100 ft | 85 ft | 3 lb 3 oz |
The line size changes the answer a lot. On that same 50-foot run, a 1/4 inch liquid line needs only 10.5 oz, a 5/16 inch line needs 14 oz, and a 1/2 inch line needs 42 oz, or 2 lb 10 oz. That is why the size is the first thing to get right, and why the rate field stays editable.
Very long runs often come with extra rules, such as a required TXV, a crankcase heater or a different target subcooling. Check the long line set guide for your equipment before going much past 50 feet. Working out a piping offset on the job? Use the pipe offset guide for the bends on the same run.
Step 2: superheat, for a fixed orifice system
Superheat is how many degrees the refrigerant vapor has warmed up after it finished boiling in the evaporator. You measure it at the outdoor unit:
Superheat = Suction line temperature – Evaporator saturation temperature
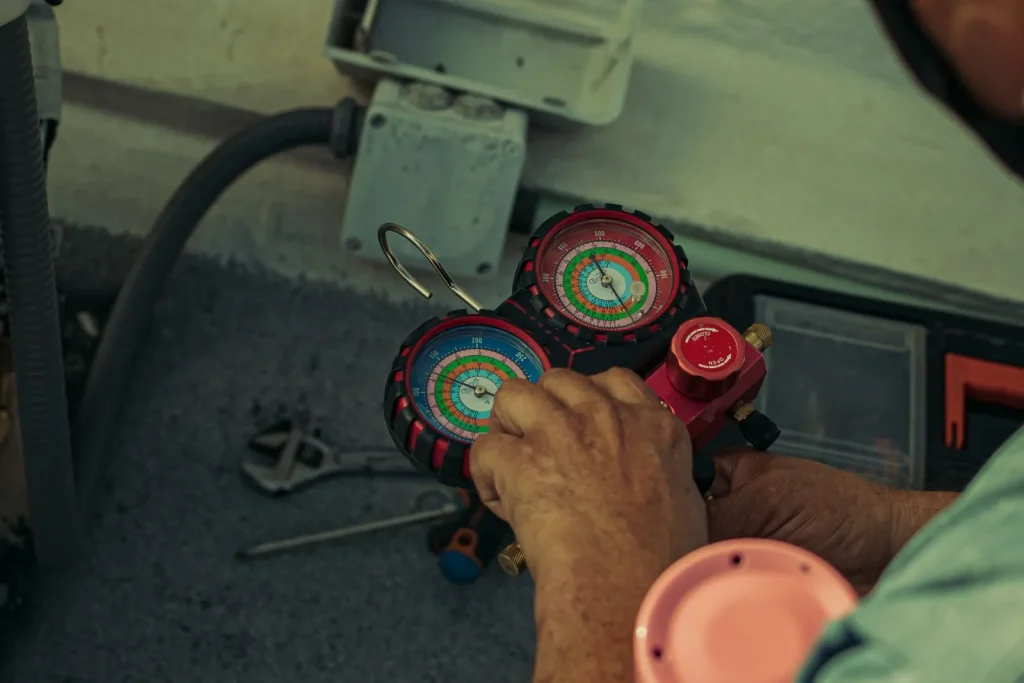
Read the saturation temperature off your digital gauges, or look up the suction pressure on a PT chart for your refrigerant. Clamp the temperature probe on the suction line near the service valve, on clean copper.
With a piston, the right superheat changes with the heat load. The widely used target formula, in deg F, is:
Target superheat = (3 x Indoor wet bulb – 80 – Outdoor dry bulb) / 2
Measure wet bulb in the return air and dry bulb at the air entering the condenser. If the formula gives less than 5 deg F, the conditions are outside the range where superheat charging works, so do not add refrigerant. Come back when the load is different, or charge by weight.
| Indoor wet bulb | 75 deg F outdoor | 85 deg F outdoor | 95 deg F outdoor |
|---|---|---|---|
| 60 deg F | 12.5 deg F | 7.5 deg F | under 5 |
| 63 deg F | 17 deg F | 12 deg F | 7 deg F |
| 66 deg F | 21.5 deg F | 16.5 deg F | 11.5 deg F |
| 69 deg F | 26 deg F | 21 deg F | 16 deg F |
A reading within about 5 deg F of target is generally treated as correct. Higher than that usually points to low charge. Lower usually points to overcharge or, just as often, to poor indoor airflow, so check the filter and blower first.
Worked example: superheat 13 against a target of 12
A fixed orifice system is running steady. The suction line reads 58 deg F and the saturation temperature reads 45 deg F. Indoors the wet bulb is 63 deg F and outdoors the dry bulb is 85 deg F.
Superheat: 58 – 45 = 13 deg F
Target: (3 x 63 – 80 – 85) / 2 = 12 deg F
The reading sits 1 deg F from target, inside the about 5 deg F window, so the charge looks right. Leave it alone.
Now the same system with a suction line at 70 deg F and saturation at 40 deg F:
Superheat: 70 – 40 = 30 deg F
That is 18 deg F above the 12 deg F target, which points to low charge. Add refrigerant slowly, let the system settle for 10 to 15 minutes, and measure again. Do not chase the number in one pour.
Step 3: subcooling, for a TXV system
A TXV adjusts itself to hold superheat steady, so superheat tells you little about the charge. Use subcooling instead:
Subcooling = Condenser saturation temperature – Liquid line temperature
Take the saturation temperature at liquid line pressure. For blends with glide, such as R-454B and R-407C, use the bubble point. Then compare the result with the target subcooling on the outdoor unit nameplate, which is commonly somewhere around 8 to 12 deg F. Within 3 deg F of target is the usual acceptable window.
Low subcooling means there is not enough liquid backed up in the condenser, so the system is probably short of refrigerant. High subcooling usually means too much refrigerant, though a clogged filter drier or other liquid line restriction can look the same.
Worked example: subcooling 10 against a target of 10
A TXV system is running steady. The condenser saturation temperature reads 105 deg F and the liquid line reads 95 deg F. The nameplate target is 10 deg F.
Subcooling: 105 – 95 = 10 deg F
That is exactly on target, so the charge is right.
Take another reading on a different day. Condenser saturation reads 102 deg F and the liquid line reads 97 deg F, with the same 10 deg F target:
Subcooling: 102 – 97 = 5 deg F
That is 5 deg F short of target, outside the 3 deg F window, so the system is probably short of refrigerant. Add a little, let it settle, and measure again.
Which method for which system
The metering device decides the check. Using the wrong one is the most common charging mistake, and the calculator asks which device you have before it shows a target for that reason.
Fixed orifice or piston: charge by superheat. The piston cannot adjust, so superheat moves with the charge and the load, and the target formula tells you where it should sit.
TXV or electronic expansion valve: charge by subcooling. The valve holds superheat steady on its own, so a superheat reading stays normal even when the charge is wrong. Subcooling is the reading that moves.
Line set charge first, either way. The weighing step is the same for both kinds of system. It is the starting point, and superheat or subcooling is the confirmation after the system runs.
Running new wire for the condenser? Check it with the voltage drop guide and pick the right size with the wire size guide before you trust a charging reading on a starved unit.
Common mistakes
- Charging before the system settles. Give it 10 to 15 minutes of steady running after any change.
- Using equivalent length for the line set charge. Use the actual measured length.
- Trusting a probe on dirty or insulated pipe. Clean the copper and insulate the clamp from outside air.
- Charging by superheat on a TXV system, or by subcooling on a piston system.
- Ignoring airflow. A dirty filter or wrong blower speed throws off both readings and gets mistaken for a charge problem.
- Adding vapor from a blend cylinder. Blends such as R-410A, R-454B and R-407C should leave the cylinder as liquid and be metered in slowly.
- Using the wrong saturation temperature for a blend. For R-454B and R-407C, read the bubble point, not the dew point, for subcooling.
Safety and the law
In the United States, only technicians certified under EPA Section 608 may buy most refrigerants or open a system. Venting refrigerant is illegal. R-454B and R-32 are mildly flammable (A2L), so follow the manufacturer procedures for those systems. Treat the numbers here as a check on your own work, not a substitute for the equipment instructions.
The same three tools are in the free OrbCalc HVACR app on Google Play, with a PT chart for 17 refrigerants, airflow and duct sizing too. See all the trade tools in the Construction hub.
Frequently asked questions
How much refrigerant do I add per foot of line set?
For R-410A, a typical rate is 0.6 oz per foot of 3/8 inch liquid line beyond the length the unit was charged for, which is usually 15 feet. A 50-foot run needs 21 oz, or 1 lb 5 oz. Smaller and larger lines use different rates, and your unit installation manual has the exact figure.
Do I count the suction line when adding charge?
For normal residential runs, no. The suction line carries low-density vapor, so manufacturers base the adjustment on the liquid line alone. Some long line set guides add a small allowance for large suction lines.
What is a good superheat for a fixed orifice system?
It depends on the load. Work it out from indoor wet bulb and outdoor dry bulb with (3 x WB – 80 – DB) / 2. At 63 deg F wet bulb and 85 deg F outside, the target is 12 deg F.
What should subcooling be on a TXV system?
Use the target printed on the outdoor unit. Many residential systems call for roughly 8 to 12 deg F, and a reading within 3 deg F of the target is usually acceptable.
Should I charge by superheat or subcooling?
Charge by superheat on a fixed orifice or piston system. Charge by subcooling on a system with a TXV or electronic expansion valve.
Can I use this calculator for R-22, R-32 or R-454B?
Yes, for superheat and subcooling, as long as you read saturation temperatures for the refrigerant you are working with. For the line set charge, choose “Other size or refrigerant” and enter the charge rate from the equipment manual. For blends with glide, use the bubble point, and always charge blends as liquid from the cylinder.
Charging estimates only. Always follow the equipment manufacturer instructions. In the US, refrigerant work requires EPA Section 608 certification.